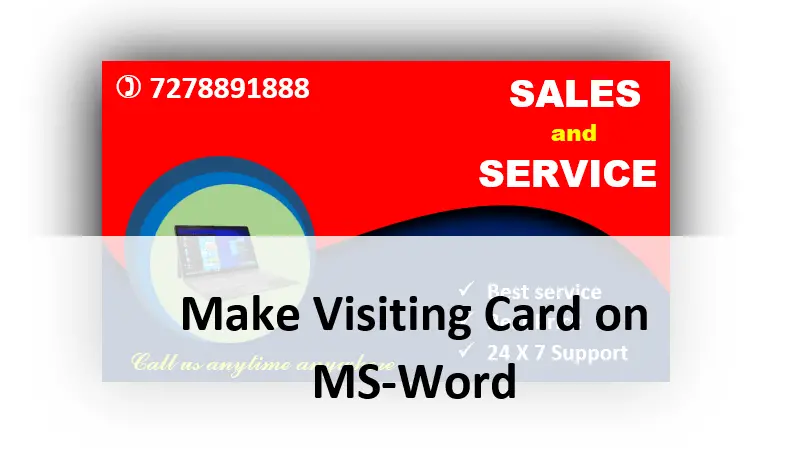
Hello! Today, we’ll walk you through the process of creating a professional visiting card using Microsoft Word. Follow these steps to design your card from scratch.
Step 1: Open MS Word
- Press the Windows + R keys on your keyboard to open the Run dialog box.
- Type “winword” in the dialog box.
- Press Enter or click on OK to open Microsoft Word.
Step 2: Insert a Rectangle Shape
- Click on the Insert tab at the top of the screen.
- In the Shapes group, select Rectangle.
- Click and drag on the page to draw a rectangle. This will serve as the main body of your visiting card.

Step 3: Draw Another Half Rectangle
- Go to the Insert tab again and select Shapes.
- Choose Rectangle and draw a smaller rectangle over the first one.
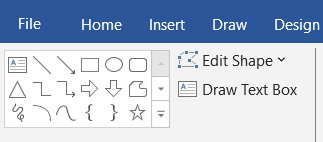
Step 4: Edit the Second Rectangle
- Select the second rectangle by clicking on it.
- Navigate to the Format tab that appears when the shape is selected.
- Click on Edit Shape in the Insert Shapes group, then choose Edit Points.
- Adjust the points to create a custom design as desired. This will give a unique look to your card.
Step 5: Duplicate the Second Rectangle
- With the second rectangle still selected, press Ctrl + C to copy it and then Ctrl + V to paste it.
- Set one copy aside for later use.
Step 6: Apply Soft Edge Effect
- Select one of the rectangles you just duplicated.
- Go to the Format tab, and in the Shape Effects dropdown, choose Soft Edges.
- Adjust the effect to create a soft shadow look.

Step 7: Overlay the Other Rectangle
- Take the other copy of the rectangle and place it over the soft-edged rectangle. This creates a shadow effect underneath the main shape.

Step 8: Add Additional Design Elements with Circles
- Click on the Insert tab and go to Shapes.
- Select Oval (circle shape) and draw three circles. Position them as part of your design.

Step 9: Insert an Image, Icon, or 3D Model
- Under the Insert tab, choose Pictures, Icons, or 3D Models.
- Insert an appropriate image or icon that represents your brand or profession.
Step 10: Add Text
- Click on the Insert tab, then select Text Box.
- Draw a text box on the card and enter your details such as your name, title, contact information, and company name.
- Customize the font, size, and color to suit your design.

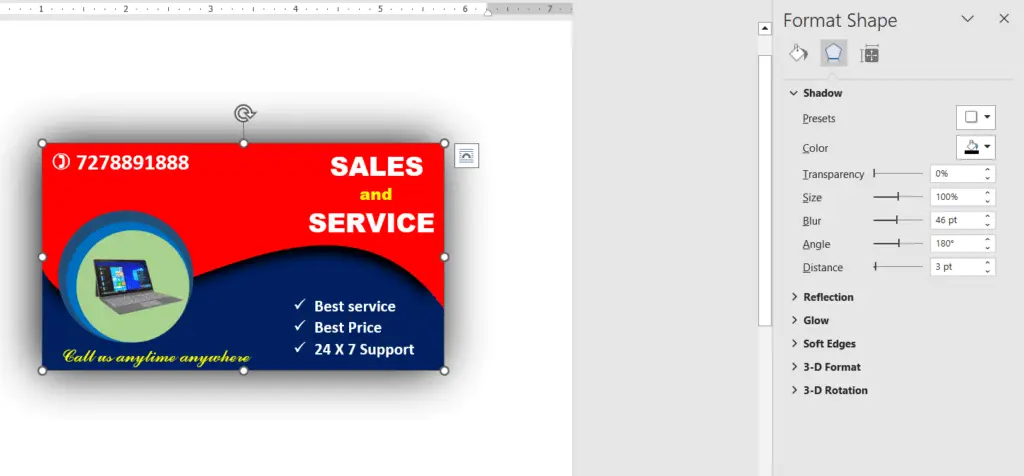
Step 11: Add a Shadow Effect to the Main Rectangle
- Select the main body rectangle.
- Go to the Format tab, then to Shape Effects, and choose Shadow.
- Apply a suitable shadow effect to give the card a professional finish.
Step 12: Finalize and Review
- Adjust and fine-tune the design elements as needed.
- Review the overall layout and design to ensure everything looks professional and aligned.
That’s it! You’ve created a professional visiting card using Microsoft Word. Feel free to experiment with different shapes, colors, and effects to make your card stand out.
Once you’re done, you can save the document and print the cards on high-quality paper for a polished finish. If you have any questions or comments, please write to us in the comment section. Have a great day!
Give it a try, and let us know how it goes!
Summary
Article Name
Creating a Professional Visiting Card in MS Word: Step-by-Step Guide
DescriptionHello! Today, we'll walk you through the process of creating a professional visiting card using Microsoft Word. Follow these steps to design your card from scratch.
Author
Unique21
Publisher Name
UCTC
Publisher Logo